Installing and launching Photo Ninja on Windows
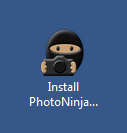
Step 1: On your desktop, locate and double-click on the icon for the installer:
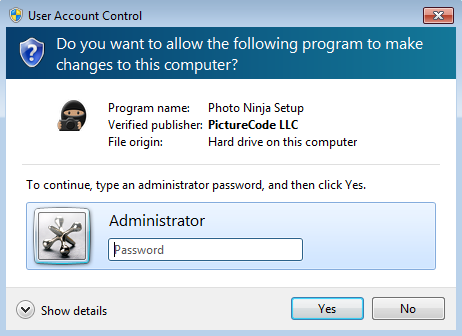
Step 2: When Windows asks if you want to let the Photo Ninja installer make changes to your computer, click "Yes" after entering your password:
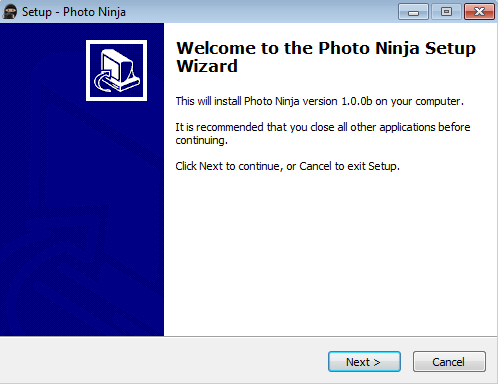
Step 3: Follow the instructions in the setup wizard.
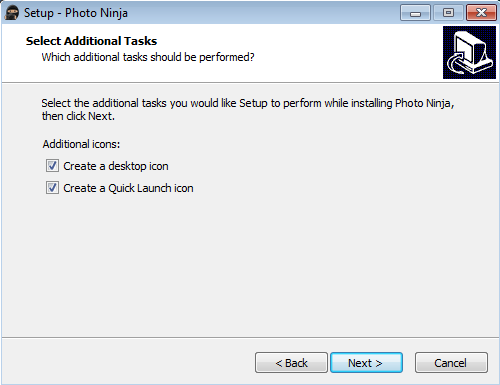
We recommend that you check the boxes to create desktop and Quick Launch icons:
Step 4: To launch Photo Ninja, click on a shortcut icon if you elected to create one, or choose Photo Ninja from the Windows Start Menu.