Installing and launching Photo Ninja on Mac OS X
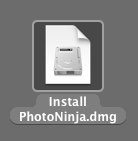
Step 1: On your desktop, locate and double-click on the icon for the installer:
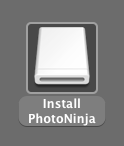
Step 2: If the installer dialog doesn't automatically appear, locate the mounted volume icon and double-click on it:
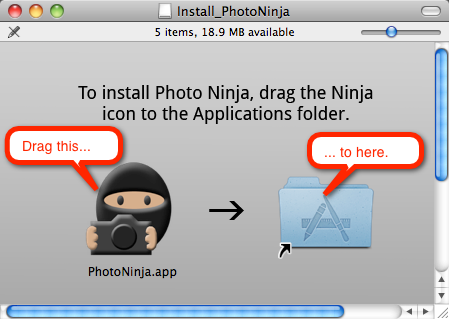
Step 3: In the installer dialog, drag the Photo Ninja icon on top of the Applications folder icon. This will copy Photo Ninja to your Applications folder:
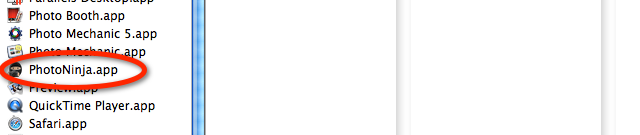
Step 4: Double click on the Applications folder icon to open a Finder window for the folder. Double-click on the Photo Ninja icon to launch the application:
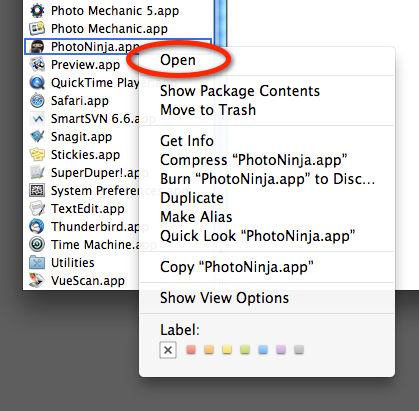
NOTE: If you are using OS X Mountain Lion and the Gatekeeper system refuses to launch Photo Ninja, right-click or control-click on Photo Ninja and choose "Open". A dialog will appear asking if you want to open Photo Ninja. Click "Open". You should only need to do this the first time you run the application.
Step 5: For convenience, drag the Photo Ninja application icon to the taskbar at the bottom of your desktop. This will create a shortcut that you can use to start Photo Ninja without having to locate it in your Applications folder each time. (Note: Don't drag the Photo Ninja icon in your Applications folder to your desktop, or this will move the entire application. For a desktop icon, right-click and choose "Make alias", then drag the alias to the desktop.)
